
MusicMaster Blog
Blog Archive
June- Importing/Exporting clocks within MusicMaster CS/Web Client
- Done with Dupes: ‘Multiple Categories’ in CS
Database Security and User Rights posted on May 16th, 2022
Database Security and User Rights
By Brian Wheeler
Your MusicMaster database is your station’s ‘secret sauce’. It’s what makes your radio station(s) unique. It makes sense to protect the secret sauce from prying eyes, right? Setting up security for your database is an easy process.
To set up your security system, go to Tools, Options. Under Dataset Security, you’ll see Users and Rights. We’ll start there. 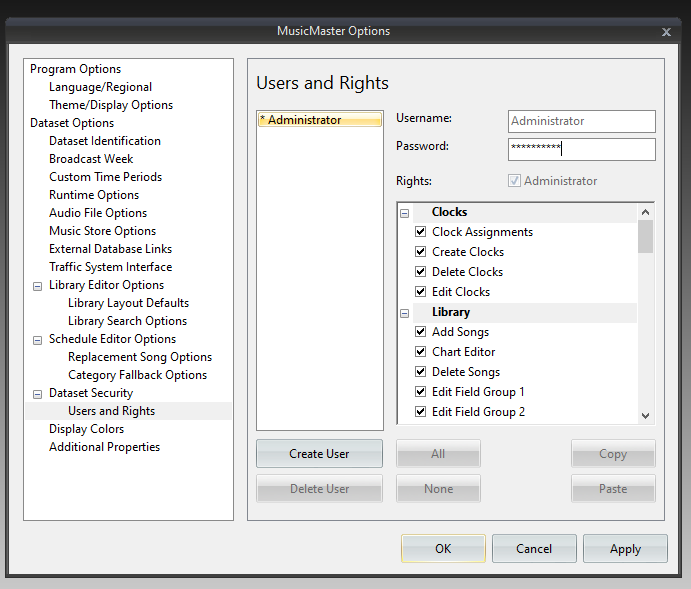
Here is where you establish usernames, passwords, and permissions. You can enable and disable certain functions for users so they are not burdened with areas of the program that are not within their individual roles. Select “Create User” to proceed with creating a username and password for your auxiliary users.

Once you’ve created a new user, you can assign a username and password. From that point, you can give them access to as much or as little of the software as you wish by checking the areas to which they require access.

Finally, when all users have been created and assigned, you can enable the security here.

Select the Enable Security button and your security system is ready to go. The next time you open MusicMaster, a username and password will be required to access the database.
The benefits to securing your database should be obvious, but there are additional benefits of which you may not be aware. Did you know that if you’ve enabled our security feature, you can also determine who has made changes in the schedule editor? It’s true!
Open the Schedule Editor and select the Modify Editor Layout icon. In the screen that appears, find the list of fields in the left side of the screen and look for Schedule: Last Change and Schedule: Changed By. Bring these two fields into the Selected Fields list in the middle of the screen by dragging and dropping them or using the single arrow icon pointing to the right. Drag and drop these fields to position them in the layout in the order you desire. Hit OK and choose the Save Editor Layout icon to save the layout.

Now, when a song is changed in the log or an unscheduled position is filled two pieces of information will display in these fields. Schedule: Last Changed will display the date and time of the change and Schedule: Changed By will record the profile used when the change was made.
If you have any questions about setting up Database Security, reach out to your Music Scheduling Consultant and we’ll be happy to help.