
MusicMaster Blog
Blog Archive
June- Importing/Exporting clocks within MusicMaster CS/Web Client
- Done with Dupes: ‘Multiple Categories’ in CS
How to Install the latest version of MusicMaster posted on January 23rd, 2023
Maybe you want to do an update or even install the software for the first time, but you’re not sure how to proceed. This article will give you step-by-step instructions on how to properly update or install your MusicMaster Software.
If you are installing the software for the first time, you can go to the MusicMaster website to check the basic recommendations for the hardware specs we suggest.
1. Purge and Backup Your Existing Database
First, if you already have MusicMaster installed and are looking to update, we recommend doing a Purge and then saving a safety Backup in a special location outside of your local system (Flash Drive, Network location, External hard drive etc..)
This is important because once you upgrade to a new major version (like from Version 7 to Version 8) and open your database in that new version, it no longer be compatible with any previous versions. Note that this does not apply to service releases. You can open your MusicMaster database in either a newer or older service release, as long as the major version number is the same.
If, after updating, you needed to back to your old database for any reason, you’d need access to a copy of the database that hasn’t been opened in the newer version yet. Keeping this safety backup in an external location ensures you won’t get the old and new databases mixed up.
Before purging or backing up your database, we recommend you open Tools > User List to confirm you are the only one in the database.
Once it’s confirmed you are the only one in the database, Run Tools > Purge, before making your database backup. This utility removes extra space from your data that could cause your backup to be larger than it needs to be. This will also have the benefit of speeding up your database.
It may be a good idea to verify the location of your database(s) and backup(s) with your IT support staff.
2. Do a Back Up!
When Purge is complete, you can now backup your data (Tools > Backup). Look for any .def files or special .ini files we’ve created for your specific databases. You’ll also want to make copies of these files and save them in a location that is not on your local drive. Copy the zip file (typically something in the format Call letters.ZIP), from your Data folder and paste it in that location. If you have any questions about specific files that you think may need to be carried over to the new machine, please contact your Music Scheduling Consultant.
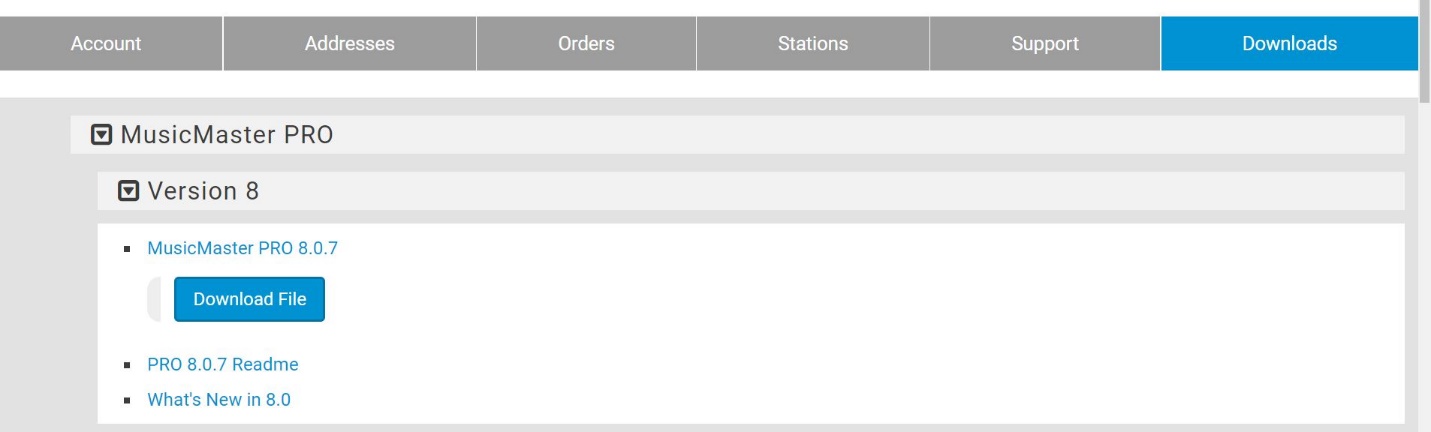
3. Download the Latest Version of MusicMaster
Whether installing for the first time or updating, you can download the latest version of the application from the support site musicmaster.com. Once you’ve logged on to our web site (LOGIN), complete the station information section of your online registration, then go to Downloads and select the version of MusicMaster you want to upgrade to.
4. Install the Software
Before installing, we recommend creating a MusicMaster folder in your C Drive (C:\). Then, during the Install process, you can change the default folder from C:\Program Files (x86) to this C:\MusicMaster folder you’ve created. If you already have a separate folder like C:\MMWin or C:\MM80, you can use that folder to install the software.
We recommend whatever your current folder is called, that it is not in the Program Files (X86) or Program Files folder in the C Drive of your computer. We recommend that the folder you currently have or are creating for the first time is in the C Drive by itself. During the Install process, all of your older versions of MusicMaster files will be uninstalled and new files will be placed in this folder, so you do not need a separate folder for the older version of MusicMaster.
Once you’ve downloaded the full installer of the application (make certain you have Admin rights before you begin), go ahead and run the installer, and follow all of the prompts. In most cases, you will not need to make any changes to the default settings the installer will suggest, except for the Data folder location. This is where your MusicMaster database files will be stored. Just make sure it is not in the Program files (X86) folder. Then you can restart your computer to complete the install/update.
5. Installing the License
Now about those green dongles… How would you like to add a keyless license at no extra cost, where you never need a dongle and you can add as many computers as you need?
If you are a brand new user, you will automatically receive a keyless license. Instructions will be emailed to you separately. We can add as many seats as you need to this license, which means you can use that code on that number of computers. If you need additional seats, let us know.
If you already have a green dongle, you can upgrade to keyless. Ask your Music Scheduling Consultant about this and they can get a license to you right away and you can add it instantly. You need to be on version 7.0.13 or higher, which includes all version 8 databases. Then you can mail back your dongles to us. The same goes for red network keys. This can be very helpful if you are looking to add a Nexus Server with your automation system (see list of automation systems compatible with Nexus here)
If you have any questions or need assistance, please contact your Music Scheduling Consultant to help you make this update happen!