By Brian Wheeler
Cover songs: Love ‘em or loathe them, they are a part of virtually every format. There’s even a Sirius/XM channel devoted completely to cover songs! But what do you do when you’ve got cover songs in your format and you need to prevent them from scheduling too close to each other, particularly when one is a current?
Lana Del Rey released “Doin’ Time”, a track originally recorded by Sublime. If you’re playing the Lana tune, there’s a fairly good chance you’ve got the original version in your gold category. Now that Lana will be marching up the charts with her version, how will you protect from these two versions of the same song?
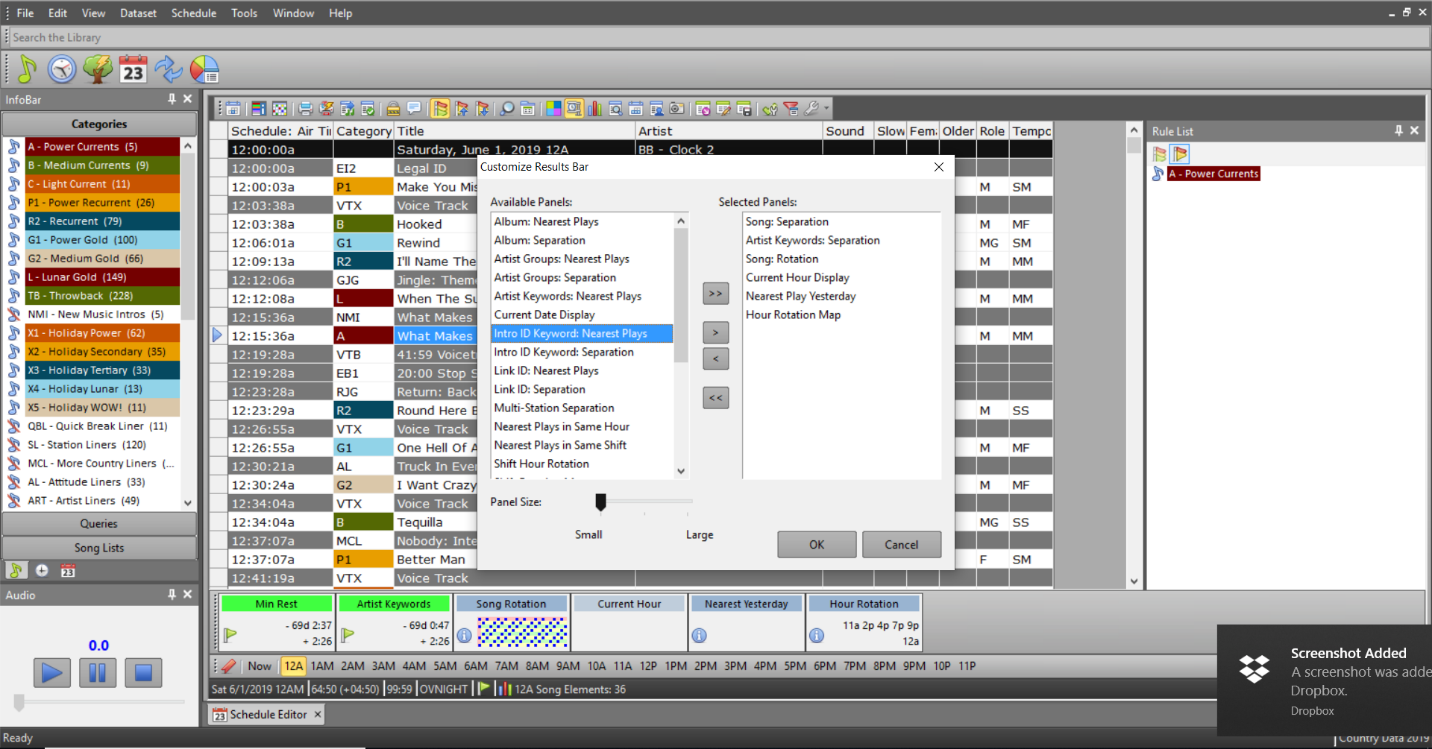
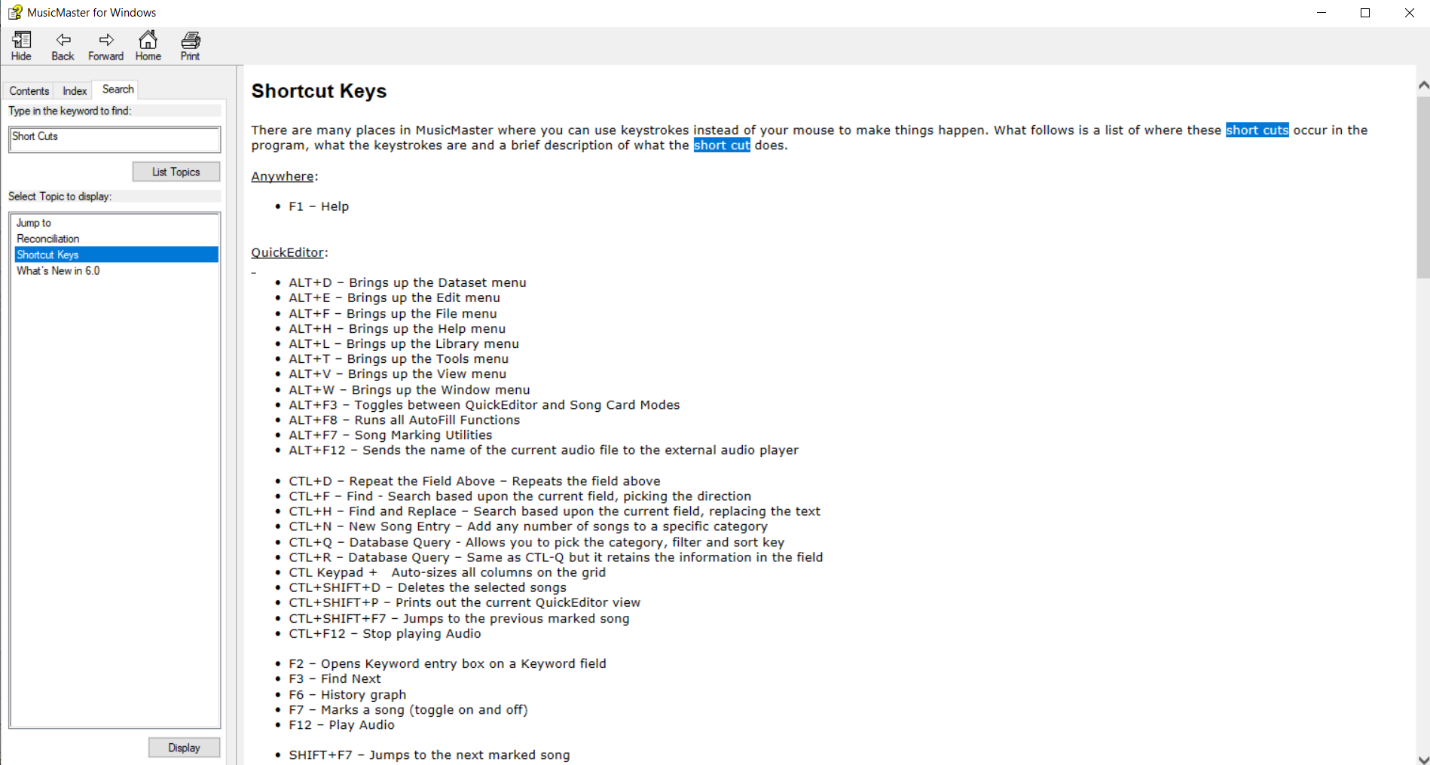
The ideal protection to use is Title Keyword protection. Much like Artist Keyword protection, Title Keyword protection allows you to separate songs that are alike.
Apply the Title Keyword “Doin’ Time” to the title keyword field on each song, as shown:

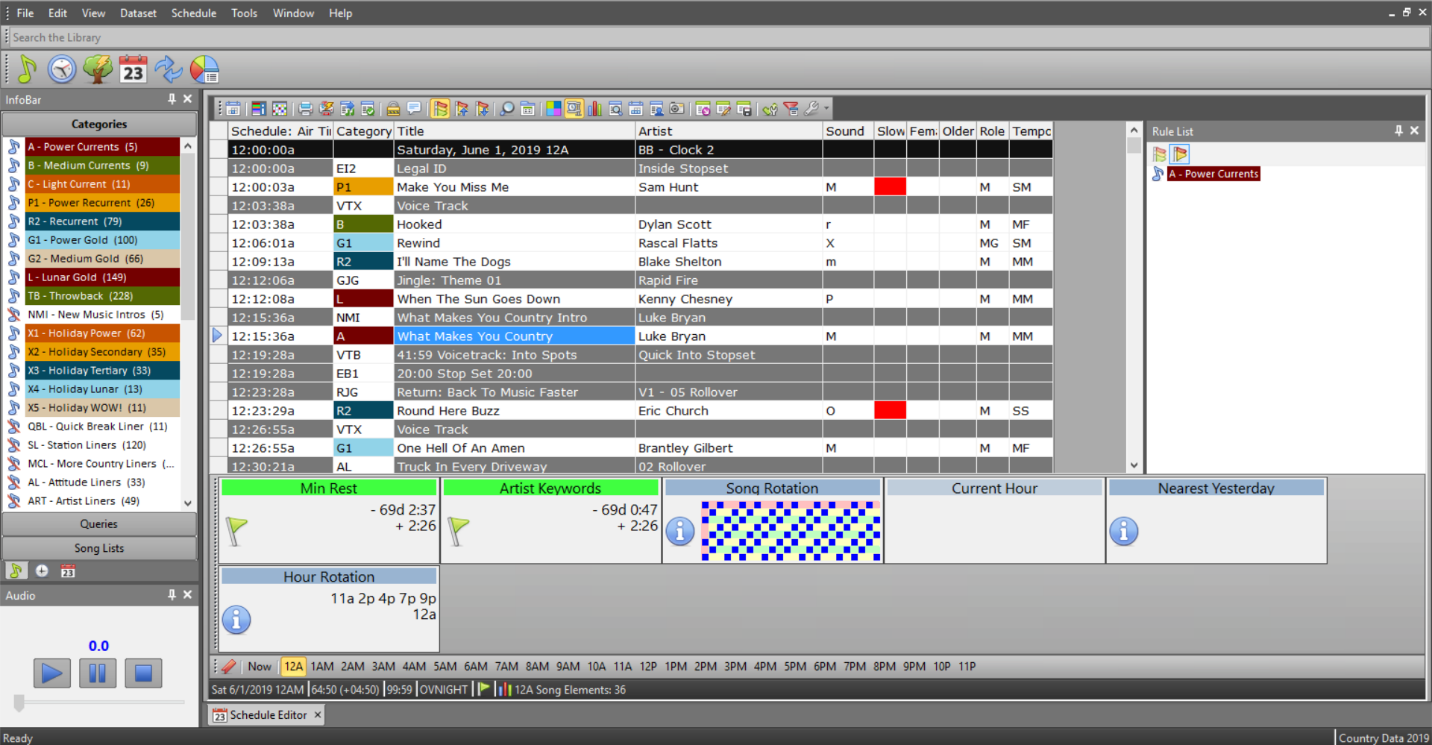
Next, enforce the Title Keyword separation rules in your rule tree by dropping the Title Keyword Separation in your All Categories folder.

That should prevent the gold version from scheduling too closely to the new version. Don’t worry if you’re bypassing your current categories from the All Category rules. If your gold is scheduling after your currents, The Lana Del Rey version will plot in your schedule as you’d expect, and the gold version will have to steer clear of any current plays. Perfect!
As far as the separation time is concerned, that is up to you. Something to take into consideration is your average listener’s actual listening time. If your station is focused toward cume, a big separation time may not be necessary since your listeners tend to check in and out throughout the day. Adjust your separation times accordingly. This can be applied to the individual Title Keyword under Dataset, Library, Keywords. Make sure to select the Title Keywords in the dropdown menu and apply a separation time by typing in your desired separation.

You should be all set! Incidentally, this is also how you would best protect against the several versions of all the Christmas tunes you’ll be playing later this year. Is it too soon to be thinking about that? Probably. Let’s enjoy the summer first.
If you have any questions, reach out to your Music Scheduling Consultant.